


If you’re using a whiteboard camera for meetings or classes, you want everything on the board to look sharp and clear—especially for people joining online. But if your setup isn’t right, the writing may look blurry, dull, or hidden behind your body.
Don’t worry. You can fix all of that with a few simple steps.
In this post, you’ll learn what to do before switching on your whiteboard camera so it gives you the best picture every time. If you’re in the UAE, you can get support or products from Evig, an audio visual technology solution provider in Dubai. They’re experts in AV setups and the official distributor of Owl Labs.
Pick the Right Spot for the Camera
Where you place your camera matters a lot.
- It should face the whiteboard straight on—not from an angle.
- The camera should be 7 to 16 feet away from the board.
- Make sure the whole board fits inside the camera view.
- If you’re unsure, test with a quick photo before the meeting.
Clean the Whiteboard First
A dirty board can make even the best camera look bad.
- Wipe the board with a soft cloth before each session.
- Remove old ink marks and shadows left by dry markers.
- Avoid using glossy spray cleaners—they can cause glare.
- Clean board = clear picture.
Use Dark Markers That Show Up Well
Not all markers look good on camera.
- Use black, blue, or green markers—they show up best.
- Don’t use light colors like yellow or pink.
- Write big and bold so text can be read from a distance.
- Test how it looks by taking a quick screenshot first.
Avoid Standing Right in Front of the Board
Some people forget that their body can block the view.
- Stand slightly to the side while writing.
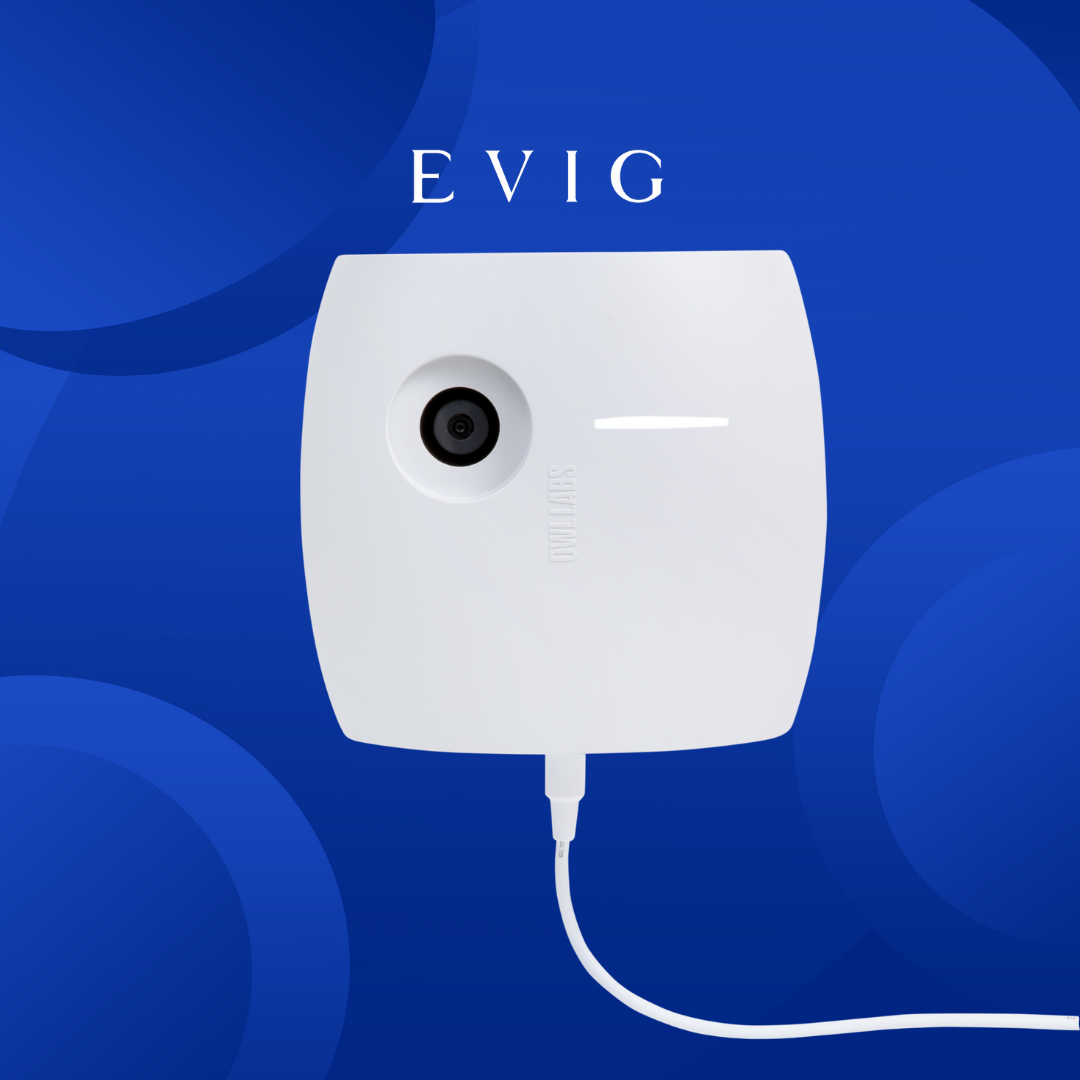
- Using the Whiteboard Camera from Owl Labs will make you slightly see-through so the writing stays visible.
- Still, try to avoid standing directly in front for too long.
- Move around to give a full view for people watching remotely.
Check the Lighting in the Room
Good lighting makes a huge difference.
- Make sure the room is bright but not too harsh.
- Avoid lights shining directly onto the board—it causes glare.
- Natural light is great, but control it with blinds if needed.
- No weird shadows, no bright spots—that’s the goal.
Try a Quick Test Before the Meeting
Before others join, always do a quick check.
- Open the camera app and look at the whiteboard.
- Write something and see if it’s clear on the screen.
- Move the camera or adjust the lighting if it’s blurry or too dark.
- A two-minute test can save you from trouble later.
Keep the Software Updated
Your whiteboard camera needs the latest software to work best.
- Check the Owl Labs app or settings menu for updates.
- Updates often fix bugs or improve video quality.
- It only takes a few minutes and is worth doing often.
- This keeps your setup running smoothly.
Mount the Camera Properly
Mounting the camera the right way helps keep the view stable.
- You can place it on a tripod or mount it on the wall or ceiling.
- Just make sure it doesn’t shake or wobble during the meeting.
- Follow the guide that comes with your Whiteboard Camera.
- If you’re stuck, contact Evig, an audio visual technology solution provider in Dubai, for help.
Final Thoughts
The Whiteboard Camera by Owl Labs is a great tool for hybrid meetings, classrooms, and brainstorming sessions. But to get the clearest results, you need to set things up correctly.
Keep the board clean, check the lighting, use the right markers, and stand to the side. Don’t forget to do a test before starting your session. These small steps make a big difference for those watching on the other side.
If you need help setting it up or want to buy one, Evig, an audio visual technology solution provider in Dubai, has you covered. They know these products inside out and can ensure you’re all set for your next big meeting.
Keep it simple. Keep it clear. Let your whiteboard shine on the screen!


